
Step-by-Step Guide to Creating Beautiful Cornrows at Home


Introduction to Cornrows
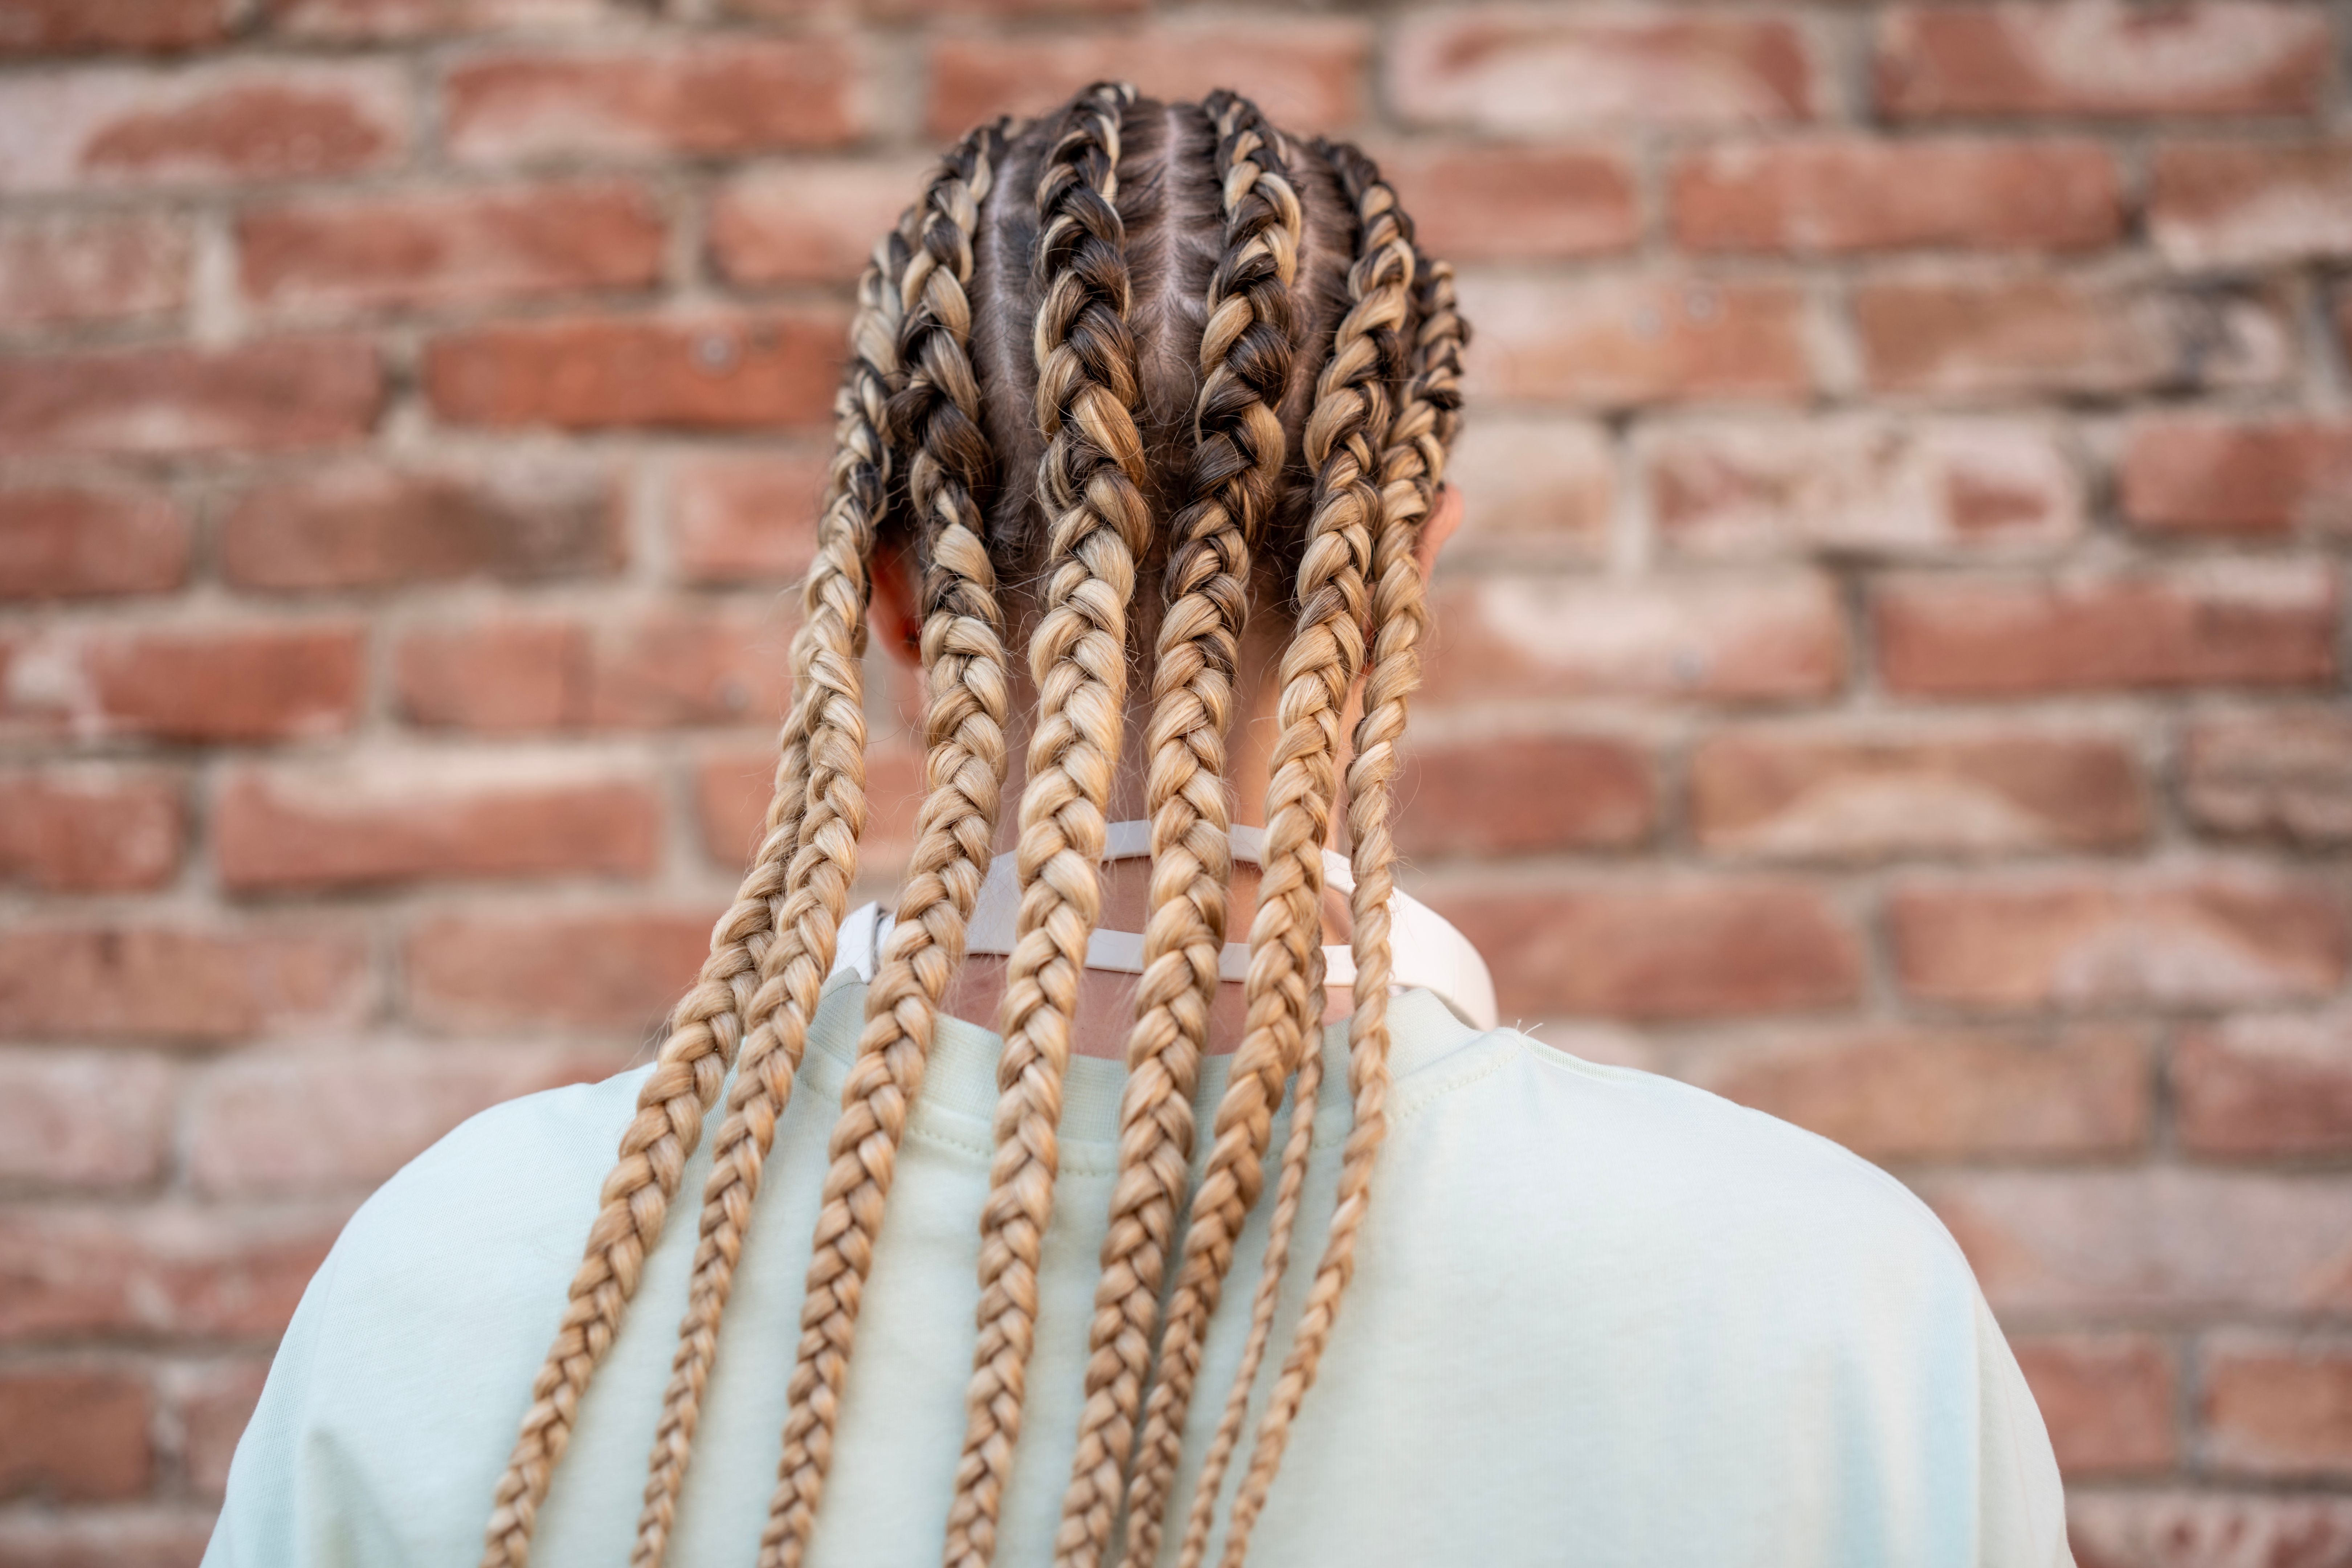
Cornrows are not only a protective hairstyle but also a timeless expression of art and culture. With roots tracing back to Africa, this intricate style can be both simple and complex, making it a versatile choice for anyone looking to try something new. Learning to create cornrows at home can be a rewarding experience, offering both convenience and creativity.
Gathering Your Tools and Materials
Before you start braiding, it's essential to have all the necessary tools and materials at hand. This will ensure that the process goes smoothly and efficiently. Here’s what you’ll need:
- Comb: A rat-tail comb is ideal for parting the hair with precision.
- Clips: Hair clips will help in sectioning the hair.
- Moisturizer: A leave-in conditioner or hair oil to keep the hair hydrated.
- Elastic bands: To secure the ends of your cornrows.
Preparing Your Hair
The first step in creating beautiful cornrows is preparing your hair properly. Start by washing and conditioning your hair to ensure it is clean and manageable. After washing, apply a generous amount of leave-in conditioner or hair oil to keep the hair moisturized. This will make it easier to braid and help prevent breakage.
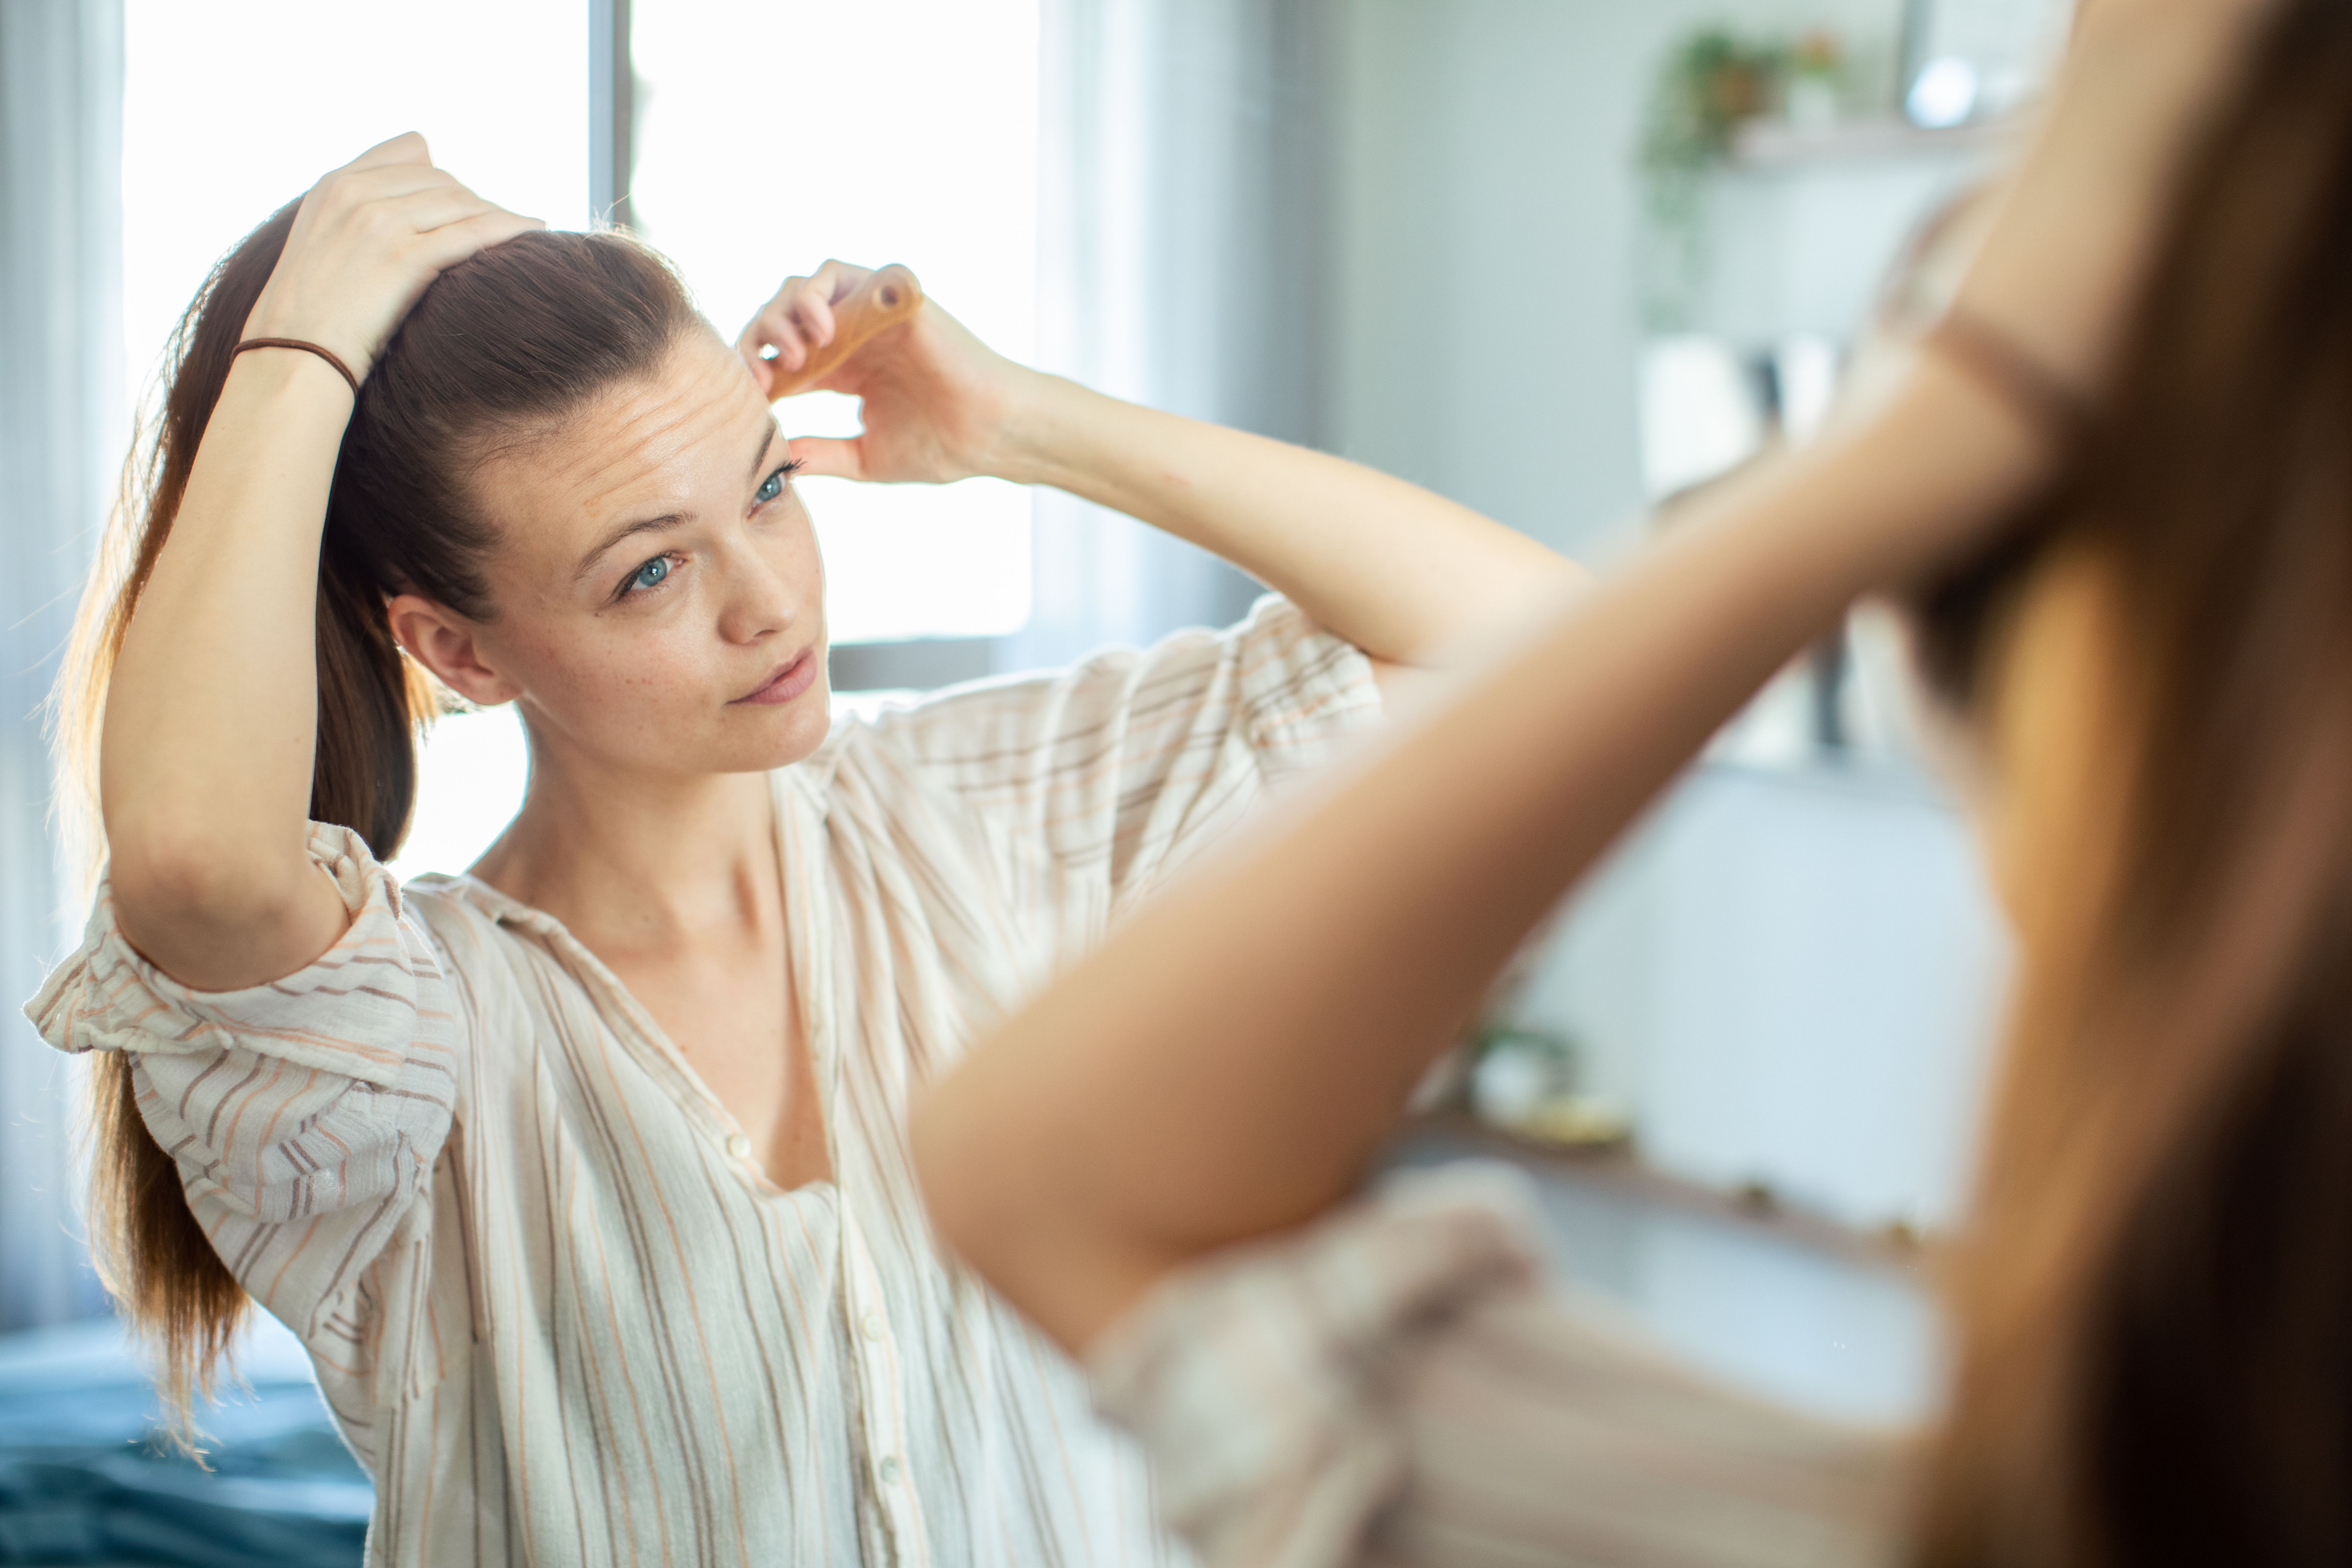
Sectioning Your Hair
Careful sectioning is crucial for neat cornrows. Use the rat-tail comb to part your hair into sections. The size of these sections will determine the thickness of your cornrows. For beginners, it's advisable to start with larger sections as they are easier to manage.
Secure each section with a hair clip to keep it out of the way while you work on other areas. Remember, the more even your sections are, the more uniform your cornrows will look.
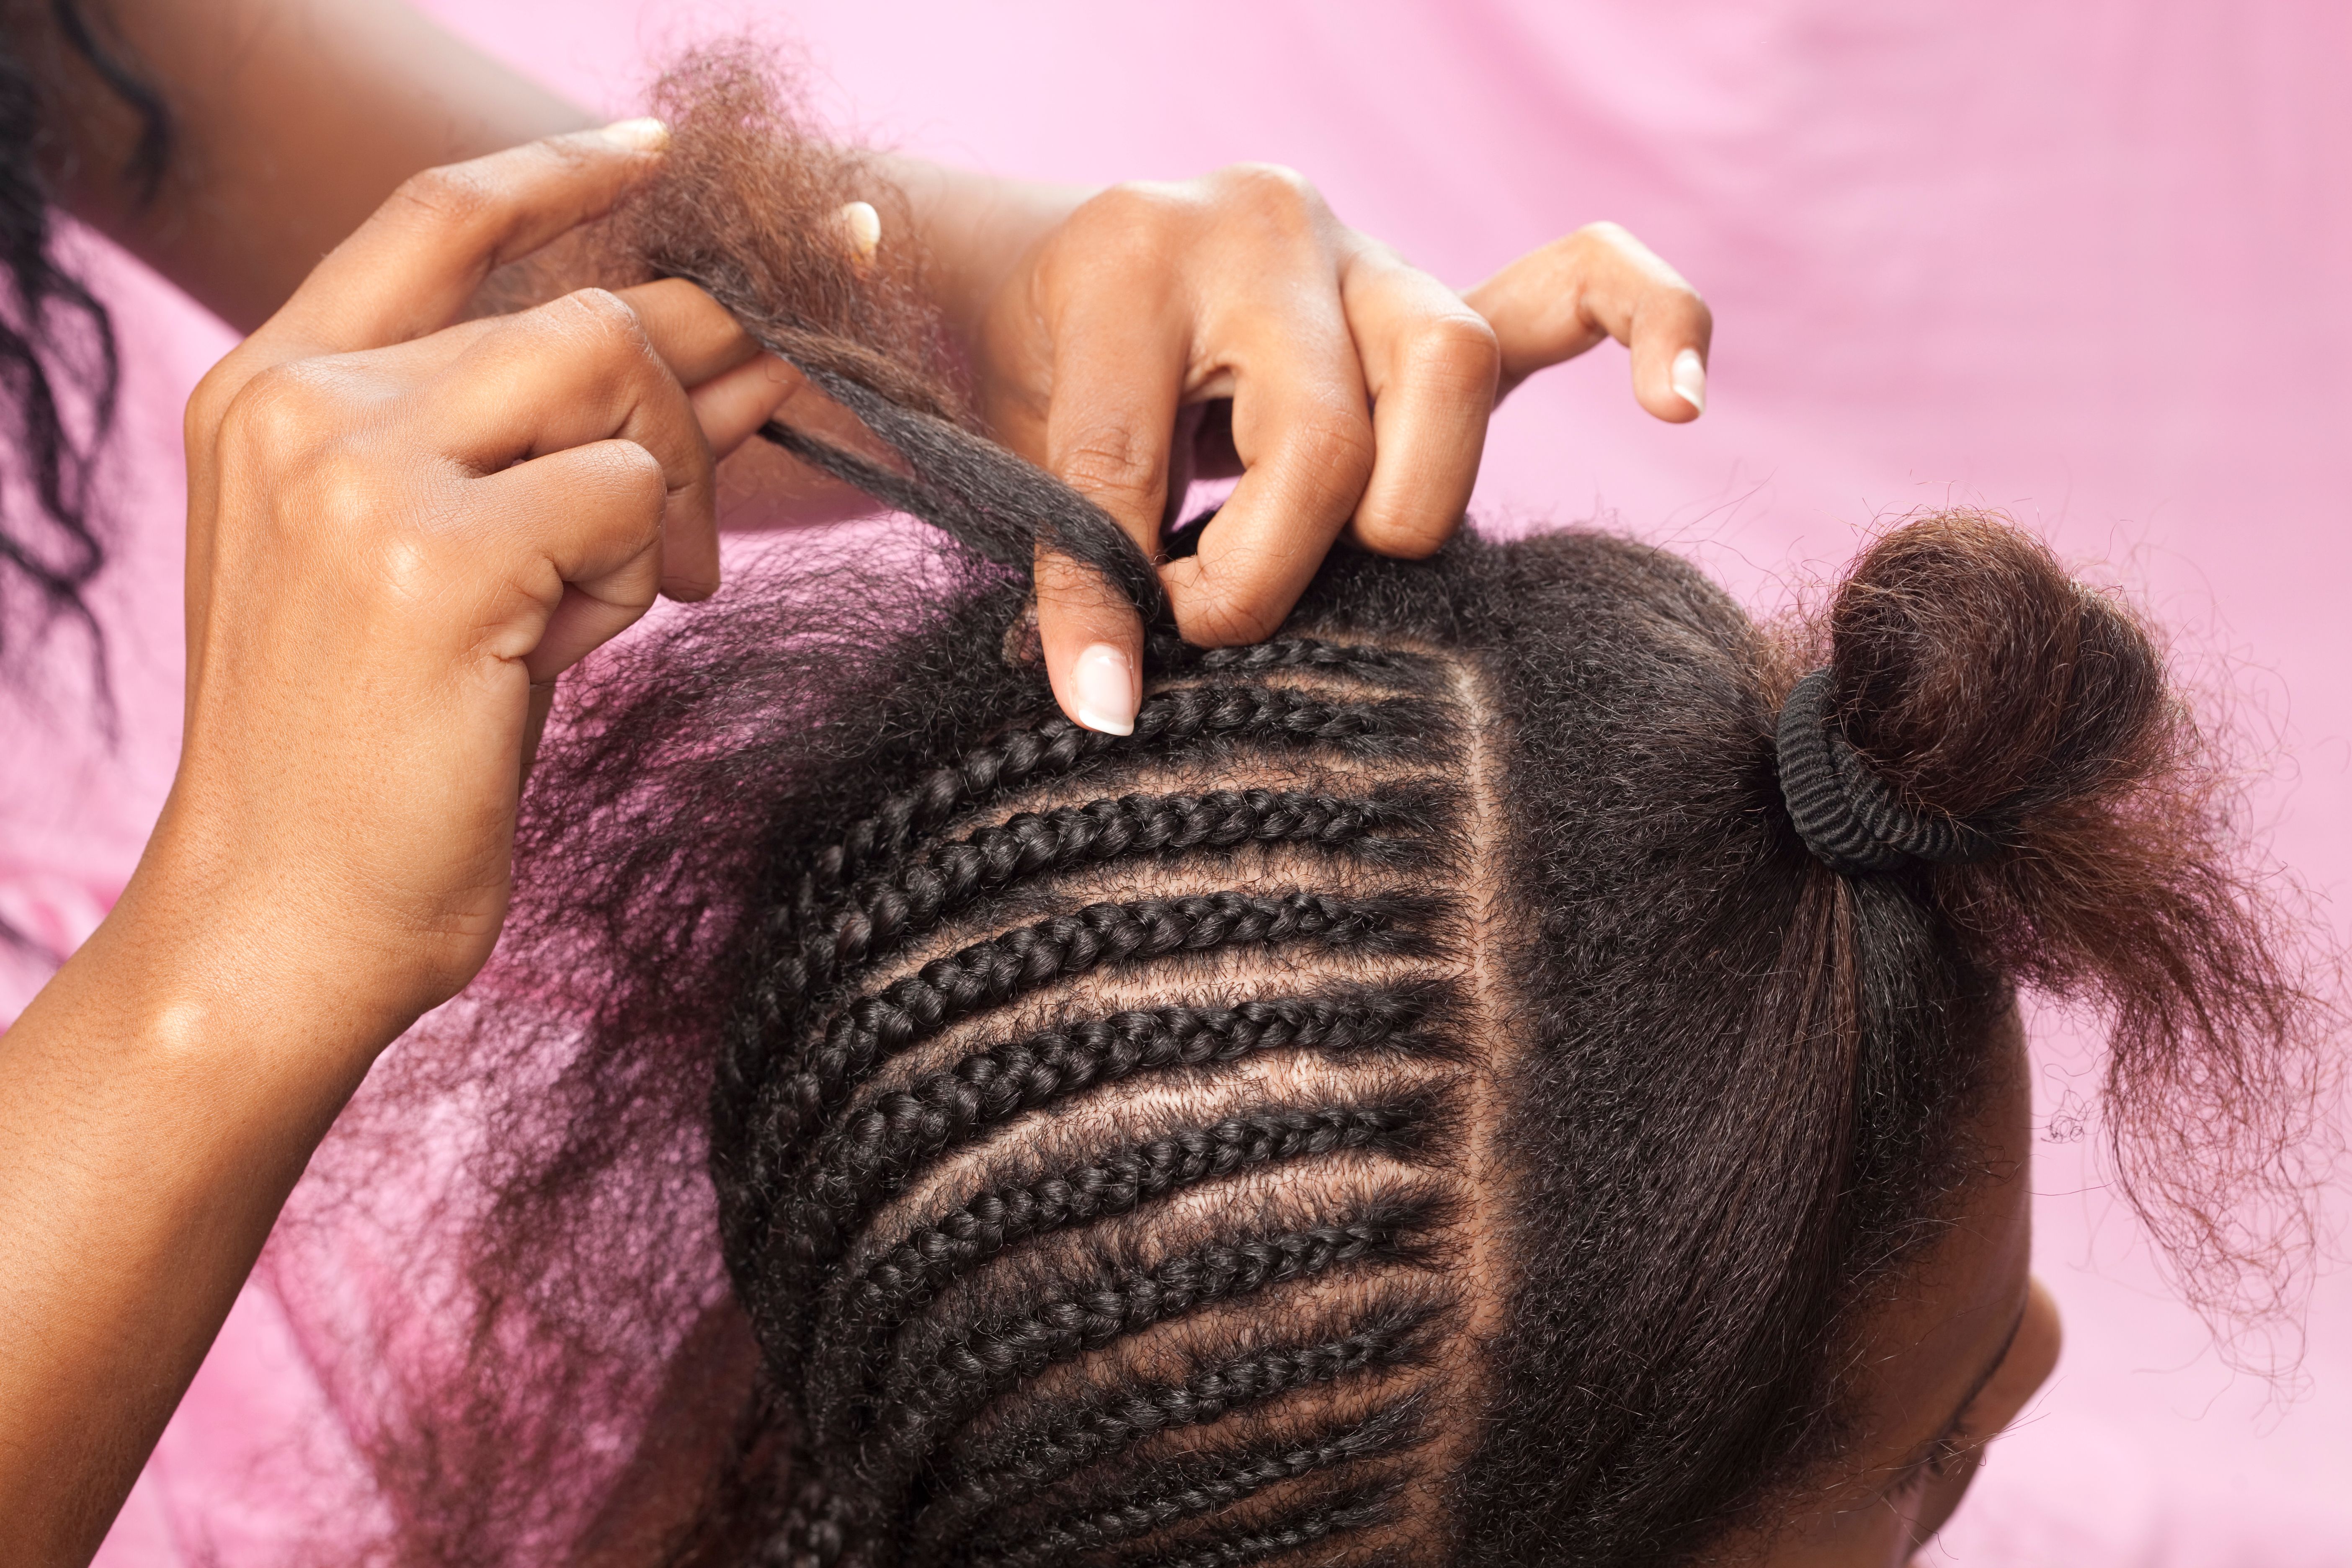
Braiding Technique
The basic technique for cornrowing involves weaving three strands of hair tightly along the scalp. Here's a step-by-step guide:
- Take a section of hair and divide it into three equal parts.
- Cross the right strand under the middle strand.
- Next, cross the left strand under the new middle strand.
- Add small amounts of hair from the sectioned-off area as you go along, continuing this pattern until you reach the end of the hair strand.
- Secure the braid with an elastic band.
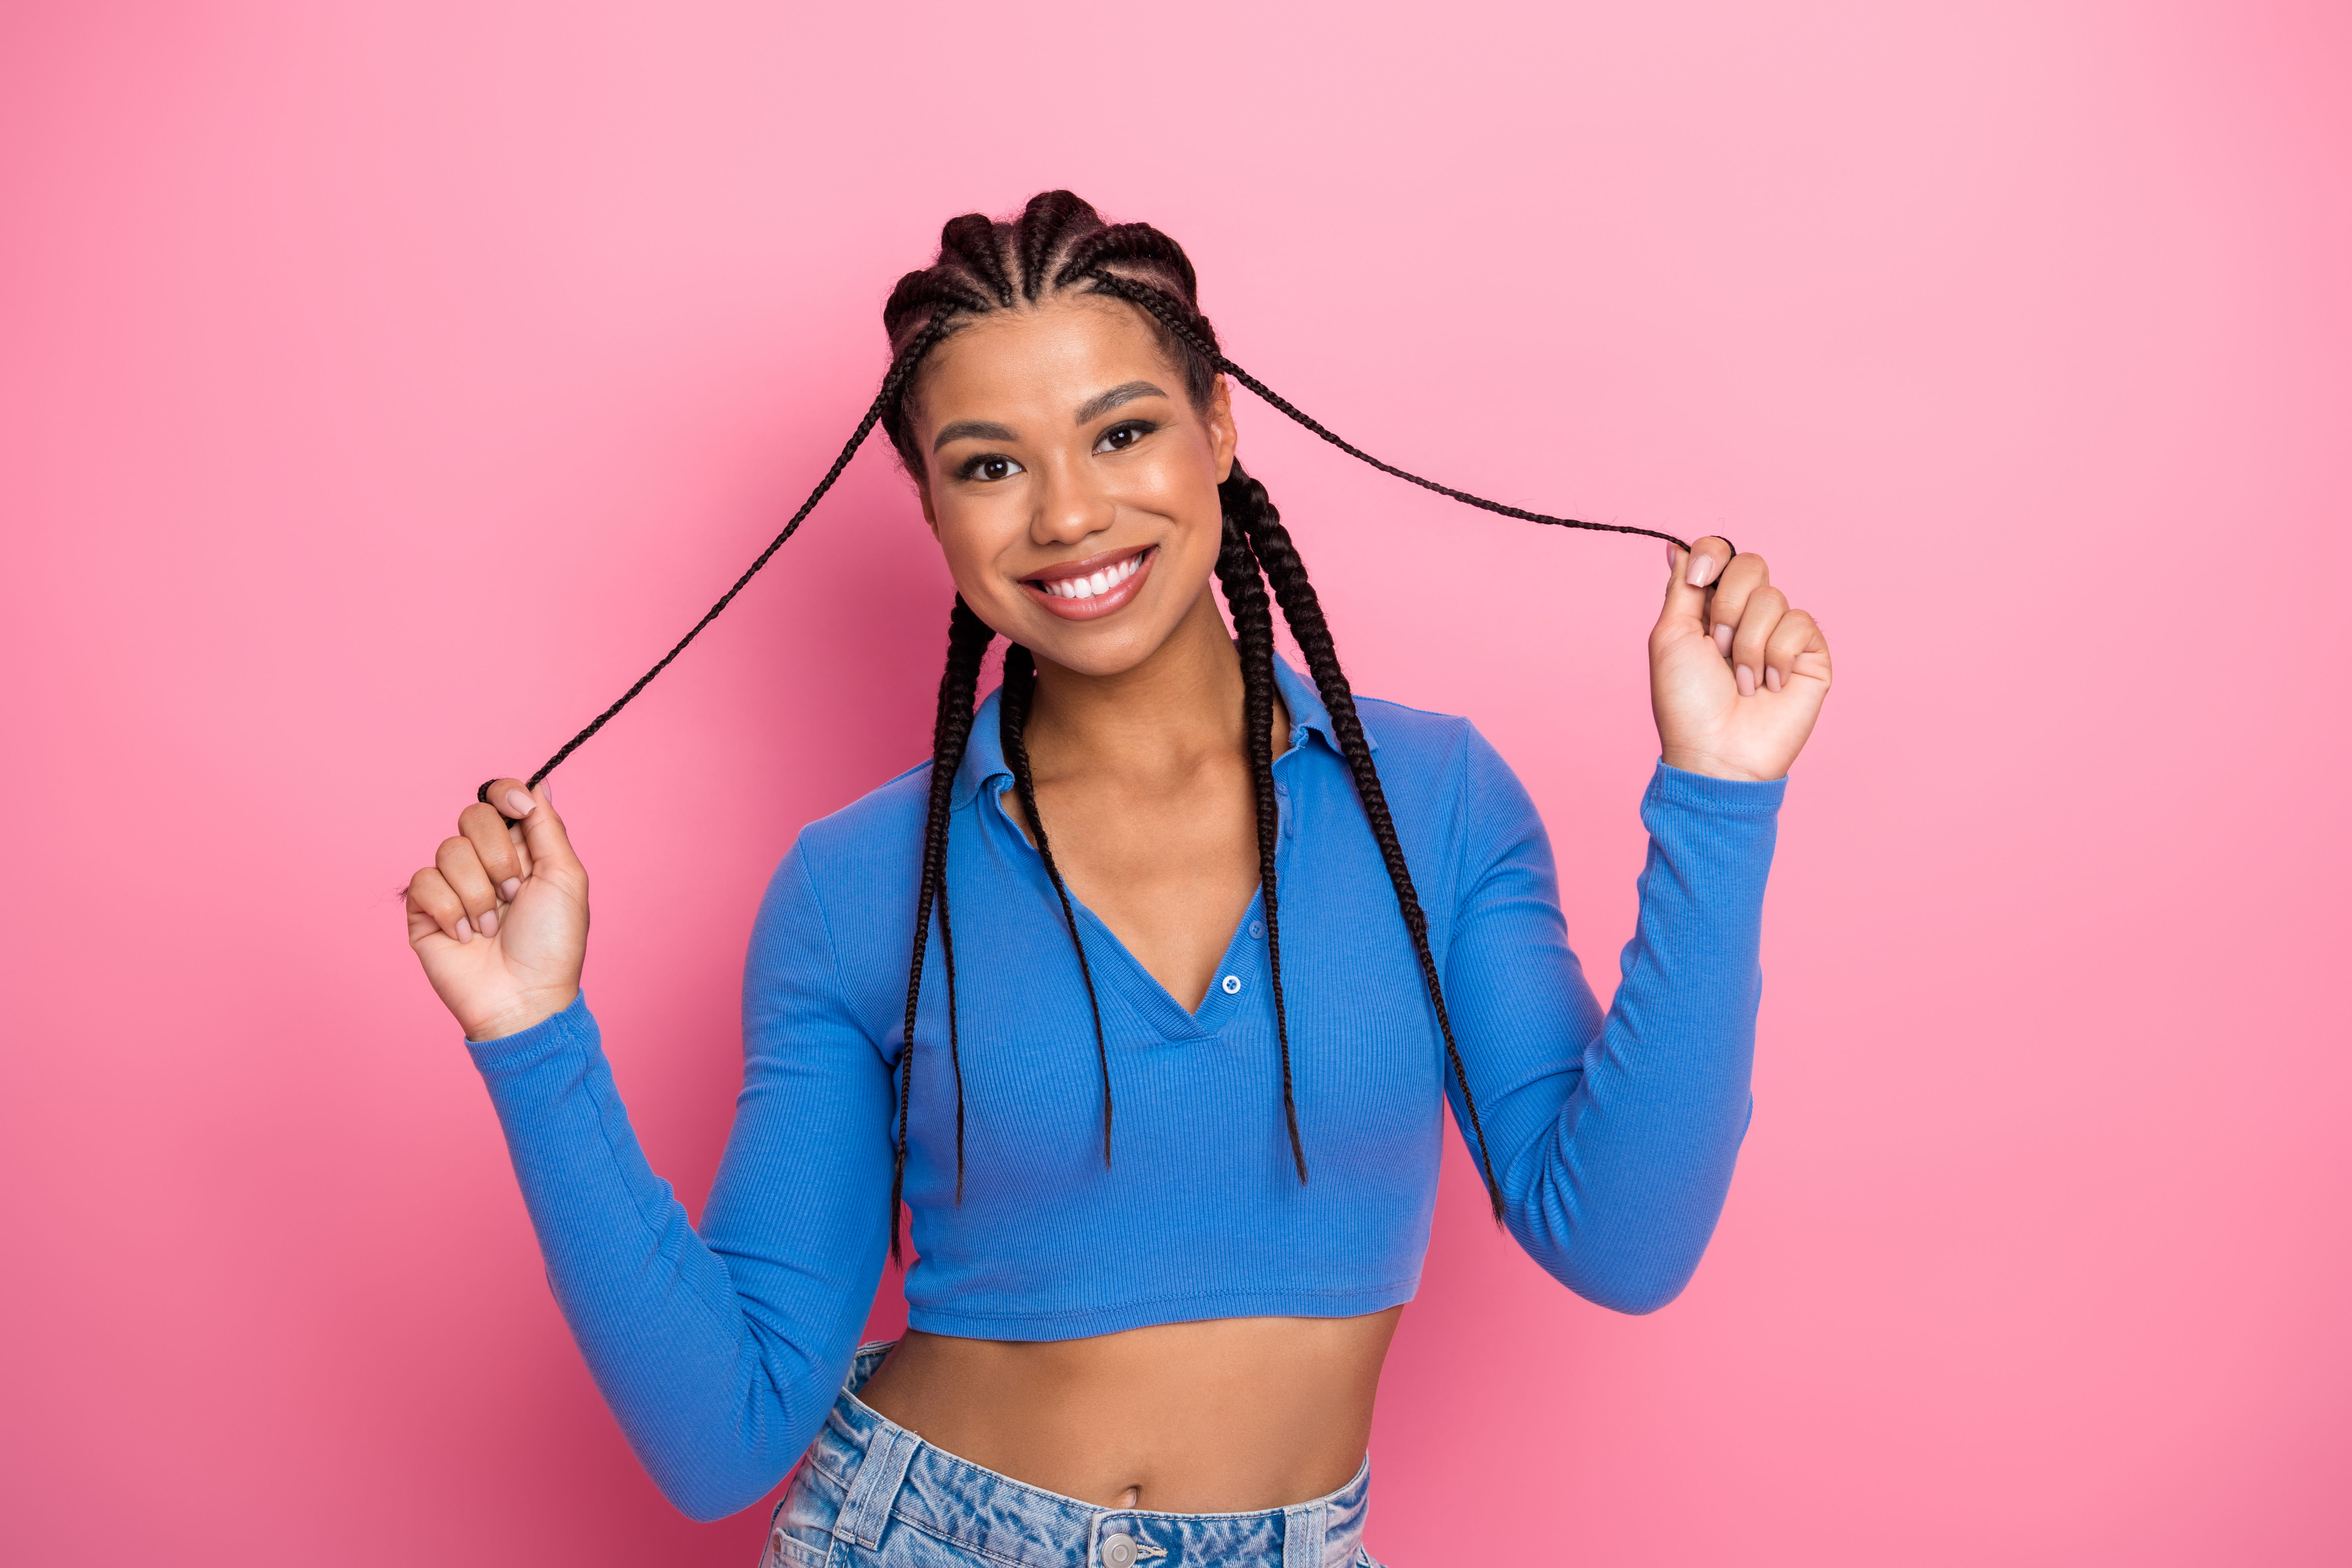
Final Touches
Once you've completed all your cornrows, you might want to add some finishing touches. Apply a bit more oil or moisturizer to give your braids a sleek and shiny appearance. If desired, you can also accessorize your cornrows with beads or clips for a personalized touch.
Troubleshooting Common Issues
If you find that your braids are too tight or uneven, don't worry! It takes practice to perfect the art of cornrowing. Always prioritize comfort over aesthetics; if any braid feels too tight, redo it to avoid causing tension on your scalp. Uneven braids can often be corrected by ensuring equal sections when parting your hair initially.
Conclusion
Cornrowing your hair at home can be an incredibly satisfying experience, allowing you to express your style while also protecting your hair. With practice, patience, and creativity, you can master this beautiful art form right from the comfort of your home. Remember, each braid tells a story, and with each attempt, you're adding to yours.