
Step-by-Step: Creating Perfect Knotless Braids


Introduction to Knotless Braids
Knotless braids have become a popular choice for many due to their natural look and minimal tension on the scalp. Unlike traditional box braids, knotless braids start with your natural hair, which reduces the risk of breakage. This style not only looks sleek but also feels incredibly comfortable. If you’re ready to try this style, follow our step-by-step guide to achieve perfect knotless braids.
Preparing Your Hair
Gathering the Right Tools
Before you begin, ensure you have all the necessary tools. You’ll need a rat-tail comb for parting, a brush for detangling, hair clips to section off hair, and of course, the braiding hair of your choice. It’s also a good idea to have a leave-in conditioner and edge control on hand to keep your hair smooth and hydrated throughout the process.
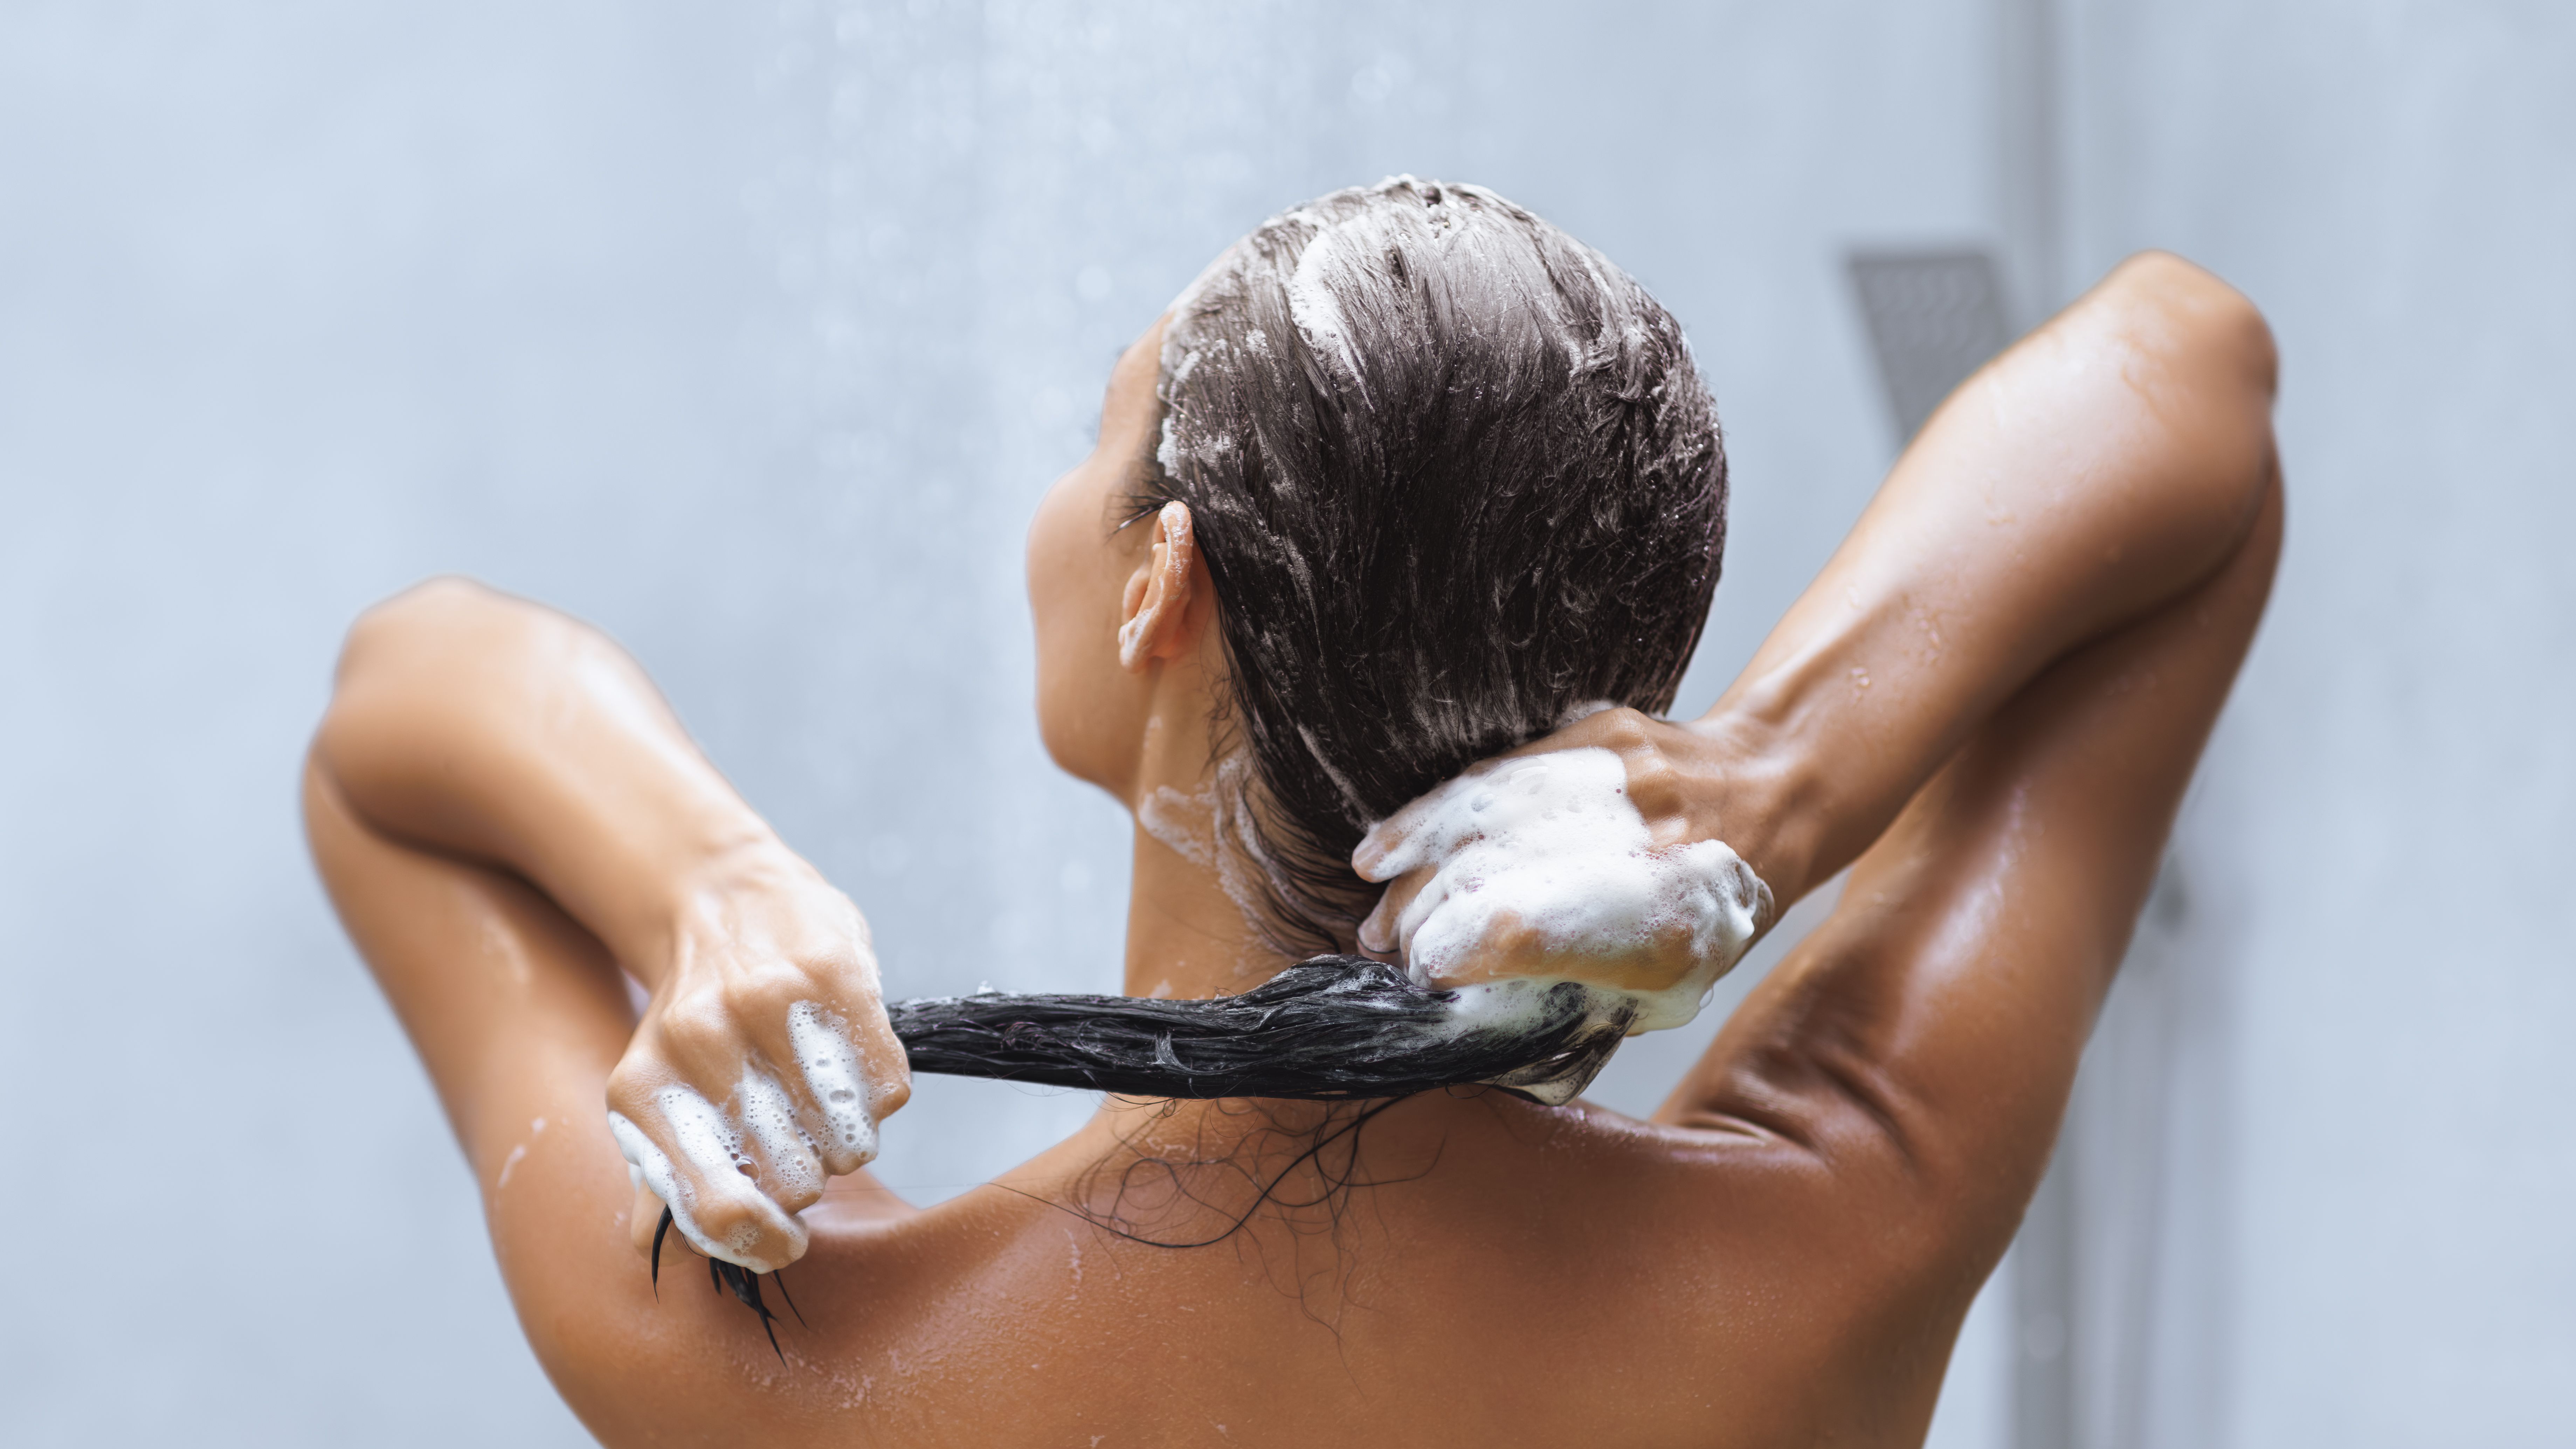
Washing and Conditioning
The first step in creating perfect knotless braids is to start with clean, moisturized hair. Wash your hair with a sulfate-free shampoo and follow up with a deep conditioner to ensure your hair is well-nourished. Properly conditioned hair will make the braiding process smoother and help the style last longer.
Sectioning and Starting the Braids
Parting Your Hair
Once your hair is clean and dry, it’s time to part it into sections. Use a rat-tail comb to create neat parts. The size of your sections will determine the thickness of your braids, so decide whether you want small, medium, or large braids before you begin. Secure each section with a hair clip to keep them in place.
Adding Braiding Hair
To start each braid, take a small amount of braiding hair and add it to your natural hair gradually. Begin by braiding your natural hair about an inch or two before integrating the synthetic hair. This technique will create a seamless transition and avoid the knot that forms with traditional braids.

Braiding and Finishing Touches
Continuing the Braid
Continue adding small amounts of braiding hair as you work your way down each section. Be sure to maintain even tension to ensure a uniform look across all your braids. This technique not only gives a natural appearance but also minimizes stress on your scalp, making it a healthier choice for your hair.
Sealing the Ends
Once you’ve finished each braid, seal the ends by dipping them in hot water or using a lighter. This will prevent them from unraveling and give your braids a polished finish. To add extra shine and smoothness, apply a light oil or serum to your completed braids.

Maintaining Your Knotless Braids
Knotless braids can last up to six weeks with proper care. To keep them looking fresh, sleep with a silk or satin scarf or bonnet to reduce friction. Additionally, apply a light moisturizer or braid spray every few days to keep your scalp hydrated and prevent dryness.
By following these steps, you can achieve flawless knotless braids that not only look stunning but also promote healthy hair growth. With practice, creating these beautiful braids will become second nature, allowing you to enjoy this protective style anytime you choose.